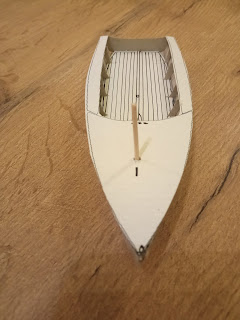
Most of my boat projects remain in my dreams, or in the computer's memory. However, if I preserve in obsessing about a design for a long time, if it makes me think about it during night, then I refine the drawings, and build a cardboard model of it. If I still find it interesting afterwards and if I find the space and make time to build it, I go for it.
This is what happened with my sailboat named S 420.
It all started on October
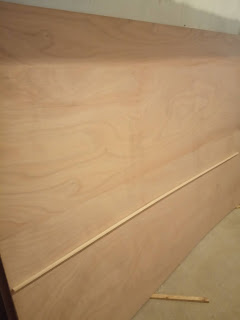
22nd, 2019. On a sunny day I went to buy the plywood. I
bought 5 sheets as per project and tied them on the roof of my car
(after removing the bike racks). In the following few months I did
the tracing. It consists in translating the dimensions from the drawing to the plywood with meter stick, tape and pencil. The curves are done by connecting some points with a fine flexible stick. Then I cut the pieces from the plywood with the jigsaw. I worked for few hours a week until the end of November, when it became too cold for starting epoxy jobs.
After few months, when temperatures raised, on March 15th, I came back to the garage. I had time, since the Covid19 lockdown was in full swing. I glued together the bottom and side parts of the planking. I prepared the stands to put the future boat on.
The ribs are epoxied to the bottom. Creativity and force is required to make the bottom planks follow the ribs shape on some locations.
All the ribs are glued to the bottom. The top side of the bottom stripes is covered with epoxy. Ribs are connected with battens that will support the deck.
After the bottom and the edge surfaces, the side surfaces are put in place. All the interior surfaces are coated with epoxy resin.
The deck is test placed, and the bow is glued to the stem.
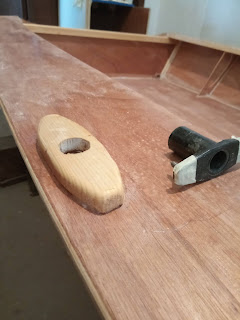
The inspection holes are opened and the daggerboard slot is cut out. The bow deck support structure is being built.
Then the time to work on the external surfaces arrived, on the bottom and on the sides. I turned the boat up-side down on 4th July. I faired the edges, made them soft. Then I laminated the glass tape strips on the edges. However, my phone fell in the sea so I lost some pictures that show these parts of the process. The following pictures show the lamination of the whole bottom. This was followed by some sanding in order to obtain a fine surface and application of some putty in the critical spots. Then two layers of primer and two layers of two component final paint are applied, with the inevitable sanding between each of these layers.
Then the hull is again turned back, and the front deck and side bench elements are trimmed to the correct dimension following the sheer line of the hull. The parts are gradually glued to the hull and covered with a layer of epoxy resin and paint.


